13 November 2016
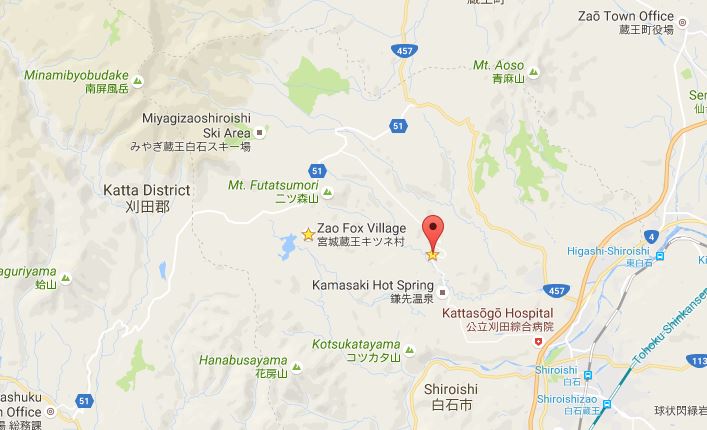
Yajiro Kokeshi Village is about a 15 minute car ride from Zao Fox Village. You can find them on Facebook by clicking on this link. If you are in the area, this is a must see and experience stop!
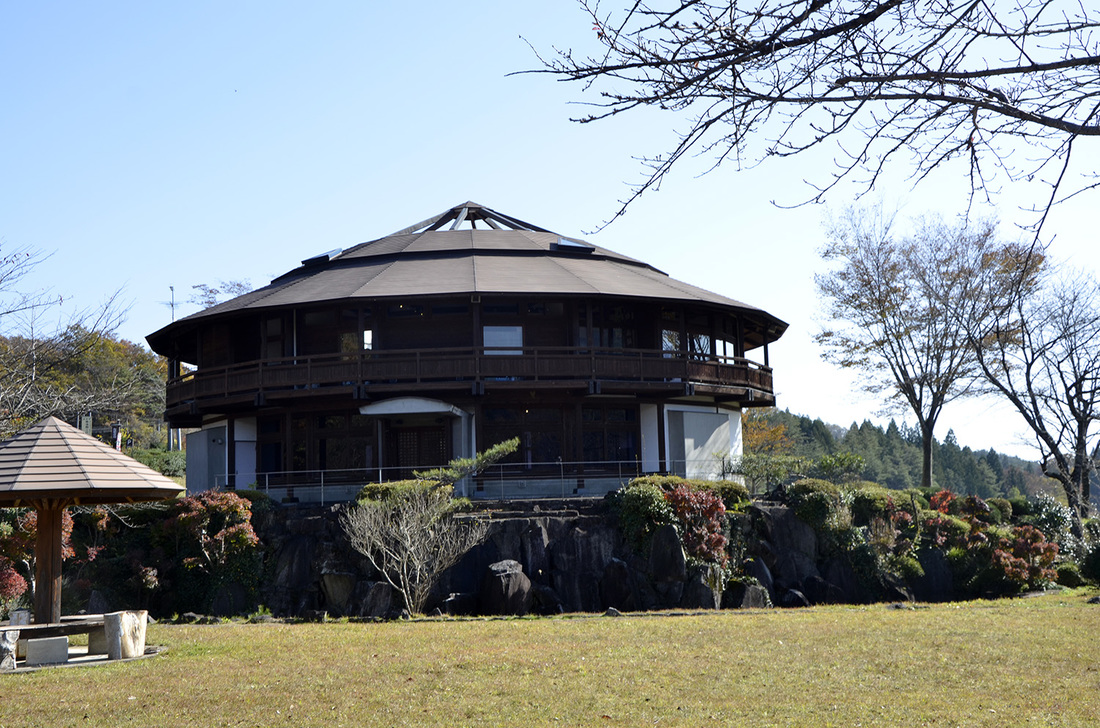
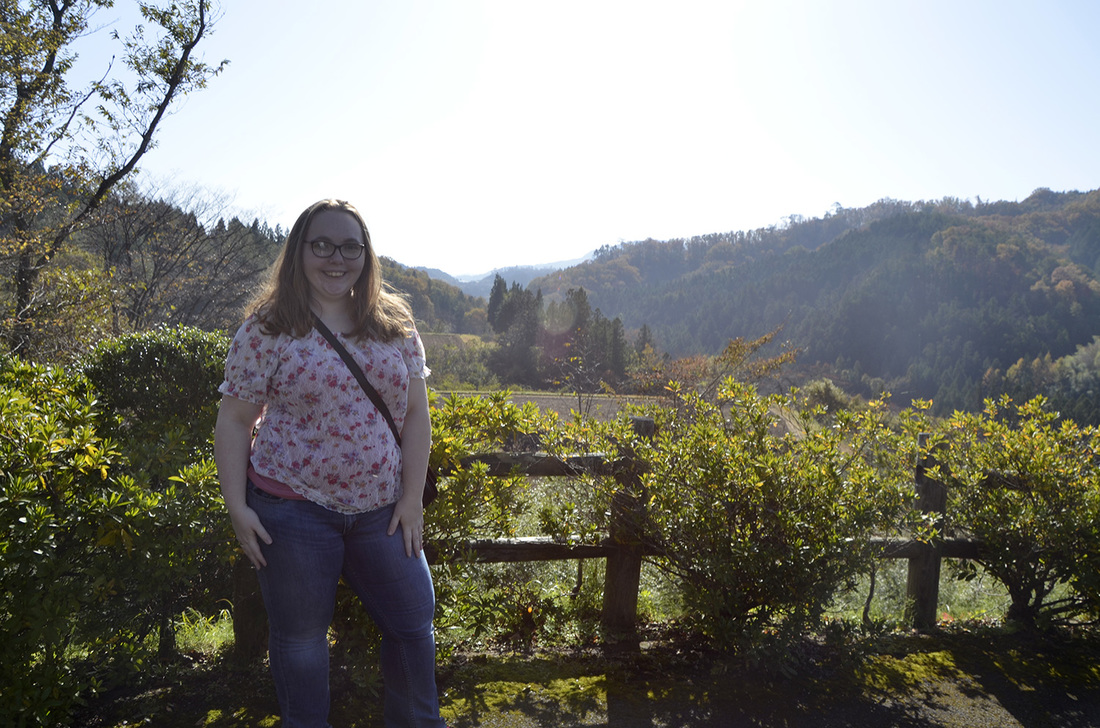
We were driving along, minding our own business when we saw this interesting looking building. We did not know what it was, so we stopped to enjoy the view of the valley.

We took this time to take some photos for our mothers.
Entering the building, we discovered that it was a kokeshi museum. Which is funny, because after we left the Fox Village, I told Erica how I really wanted to see someone make a kokeshi and we find ourselves in a museum.
Sadly, no pictures were allowed in the museum, but outside was fair game.
For those who are not aware what a kokeshi is, it is a wooden, limbless doll. Traditionally, the different designs of the kokeshi had specific characteristics - such as body shape, color, and patterns.
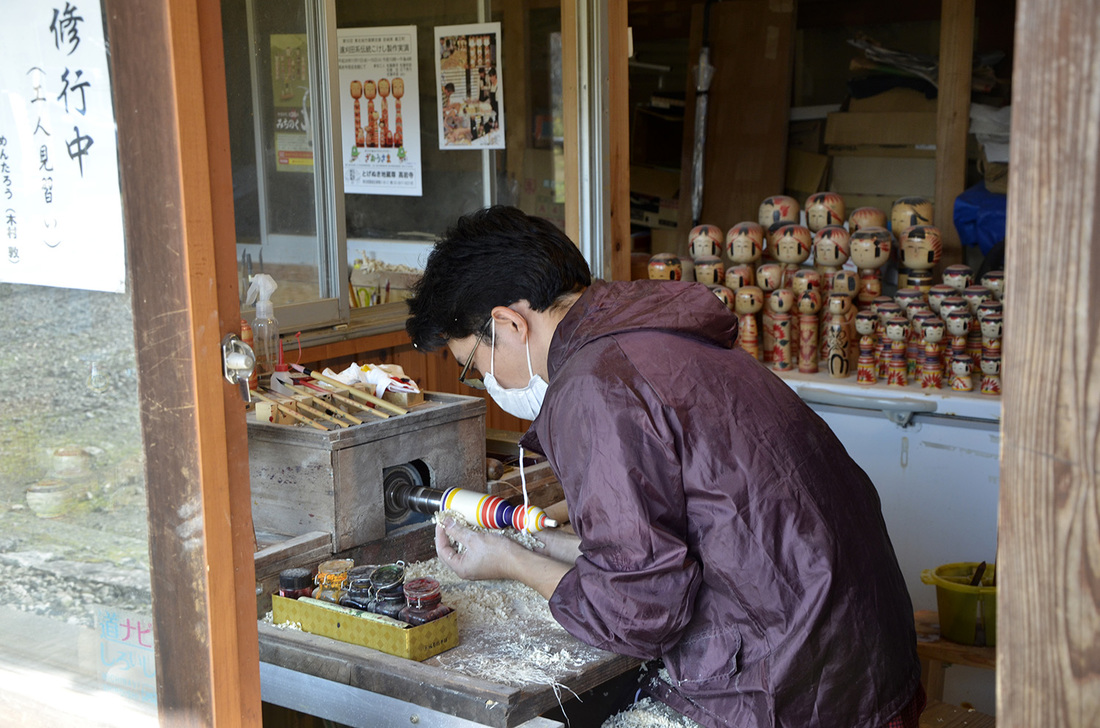
The museum has award-winning kokeshi on display and depicts the history of the kokeshi. I learned that the Yajiro kokeshi have a distinctive wheel pattern on their heads.
Sadly, no pictures were allowed in the museum, but outside was fair game.
For those who are not aware what a kokeshi is, it is a wooden, limbless doll. Traditionally, the different designs of the kokeshi had specific characteristics - such as body shape, color, and patterns.
The museum has award-winning kokeshi on display and depicts the history of the kokeshi. I learned that the Yajiro kokeshi have a distinctive wheel pattern on their heads.
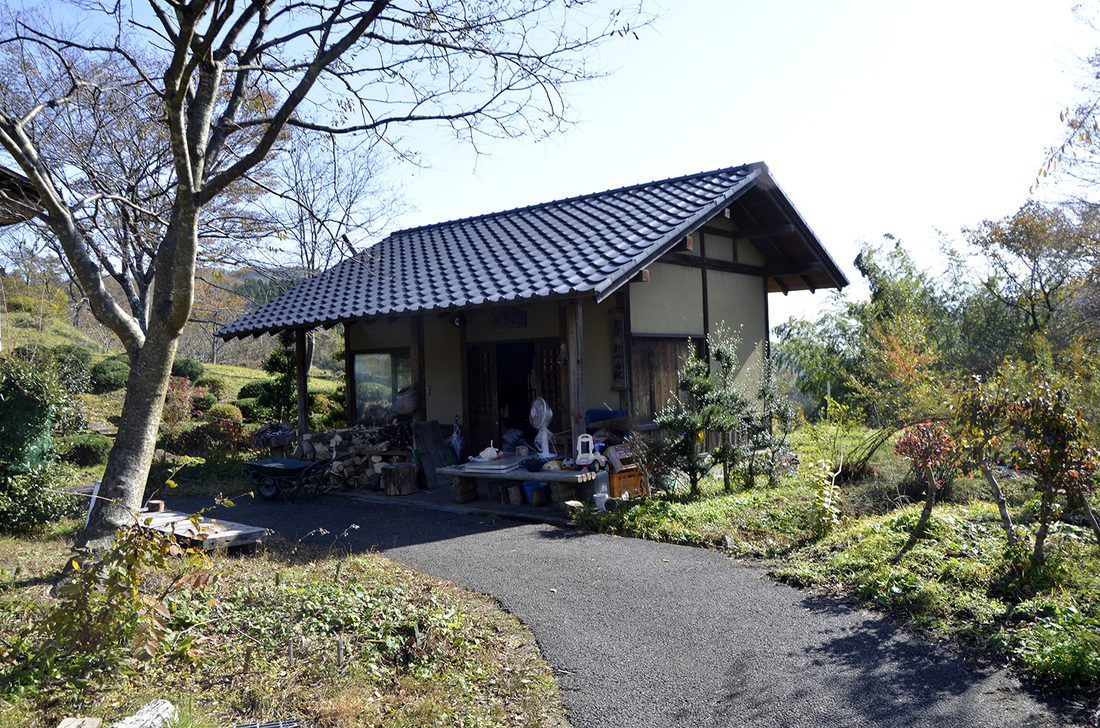
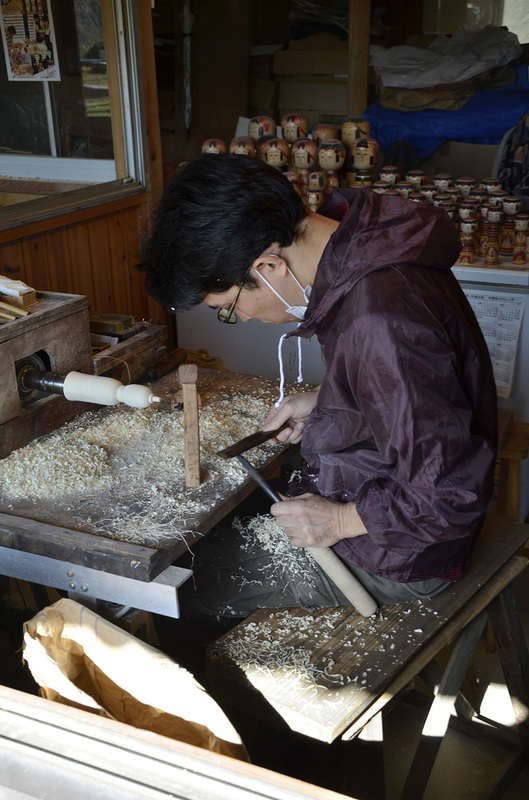
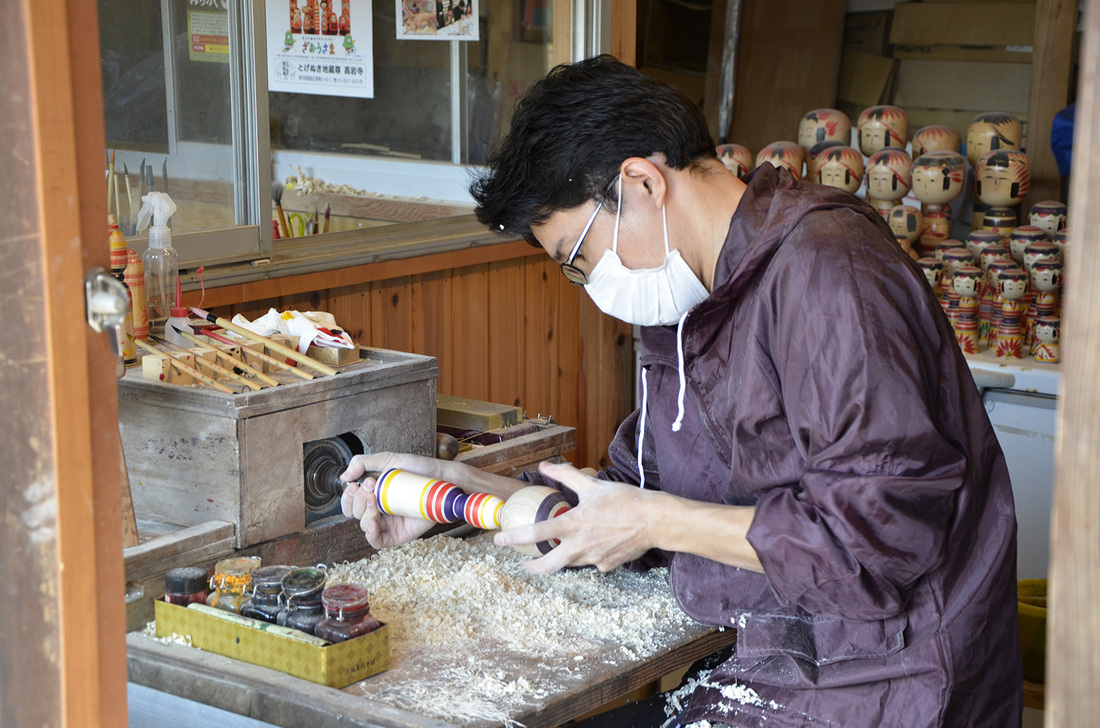
Behind the museum are five small workshops. Upon closer inspection, we found that inside the first hut there was an artisan working on a kokeshi!
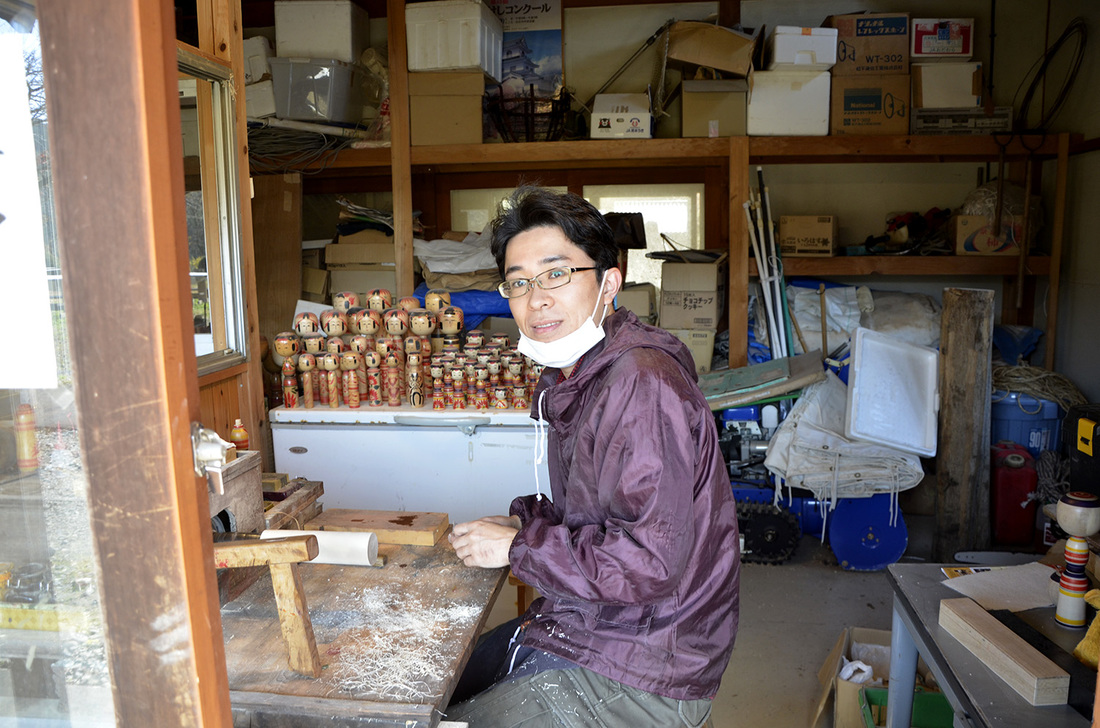
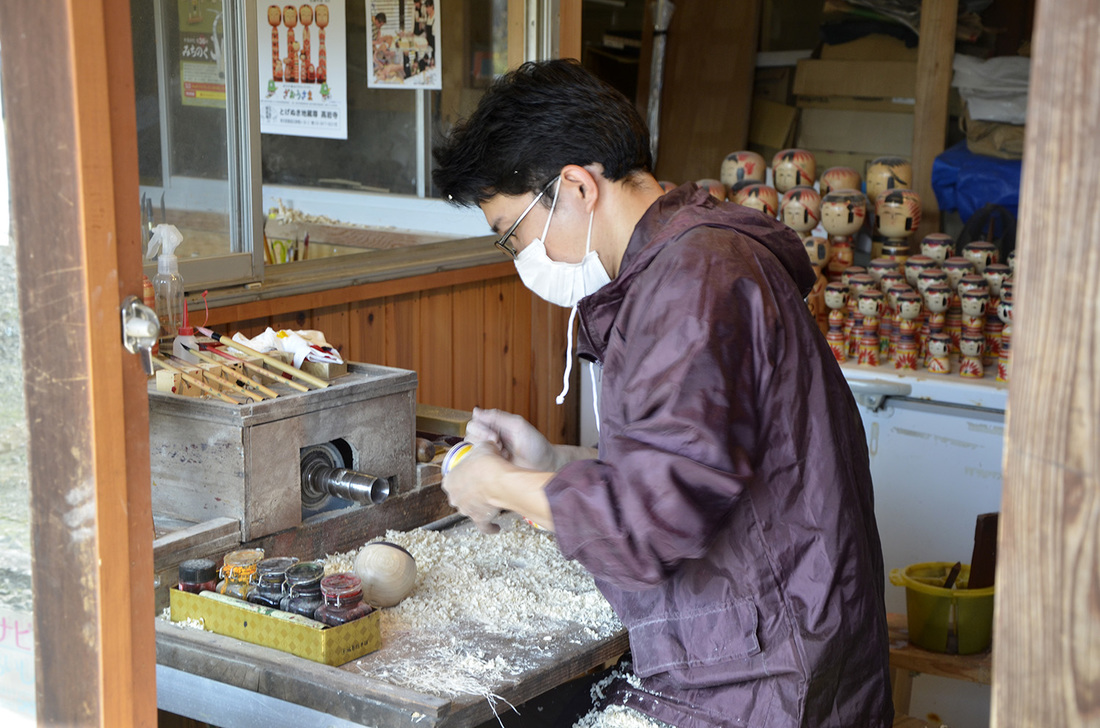
This man was hard at work on a kokeshi. He let us watch his process for making one. (Sadly, I never caught his name).
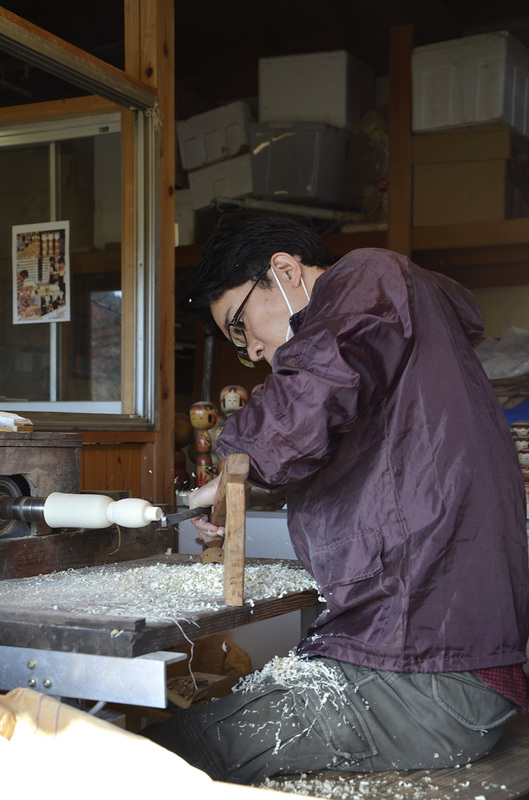
The first step (that we got to watch, anyways) was to get the wood centered on the lathe (the machine he is using to spin the wood). It is not as easy as he made it look; if you have ever thrown a pot on the wheel, it is a lot like trying to center to clay at the beginning. He used a hammer to tap on the wood the get it centered.
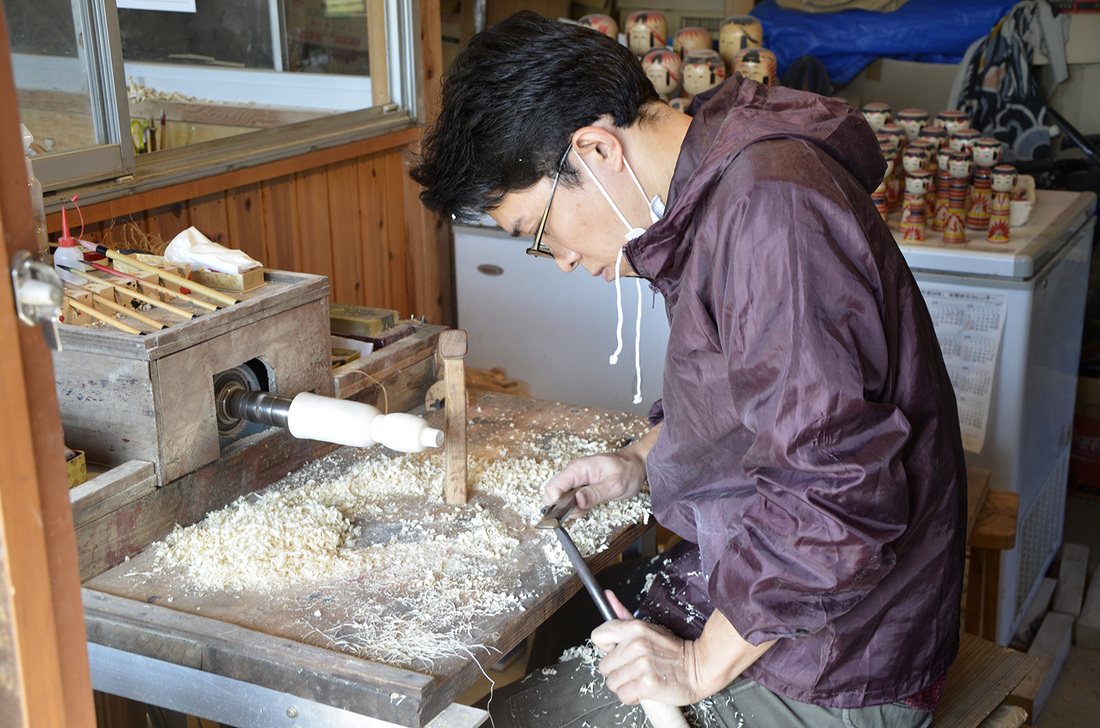
After he had it centered, he started to chisel away at the wood (not sure if that is the correct terminology, but we'll go with it).
Here you can more easily see the rest that he is using to keep his hand (and tool) steady as he works.
More shaping of the kokeshi.
He stopped many times to sharpen his chisels.
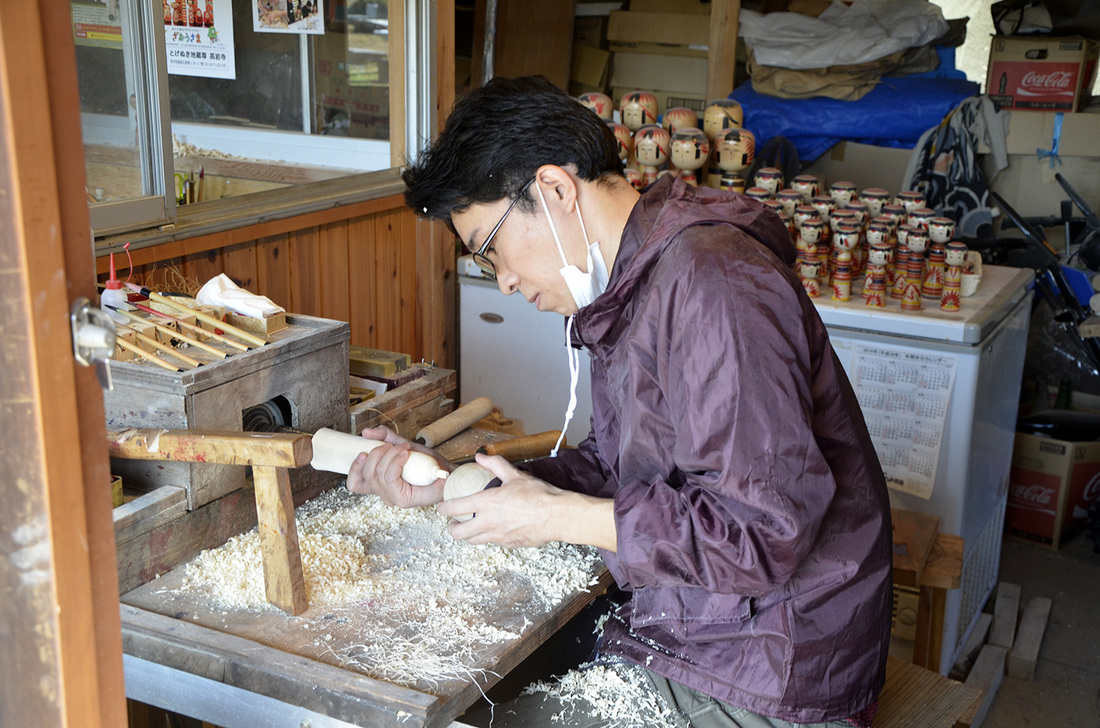
He periodically stopped to make sure the head would attach to the body. Once he was happy with the fit, he refrained from touching the "neck" joint.
Slowly chipping away at the body to not take too much off and mess up.
More sharpening chisels.
Measurements are made to make sure this kokeshi will match the previous ones.
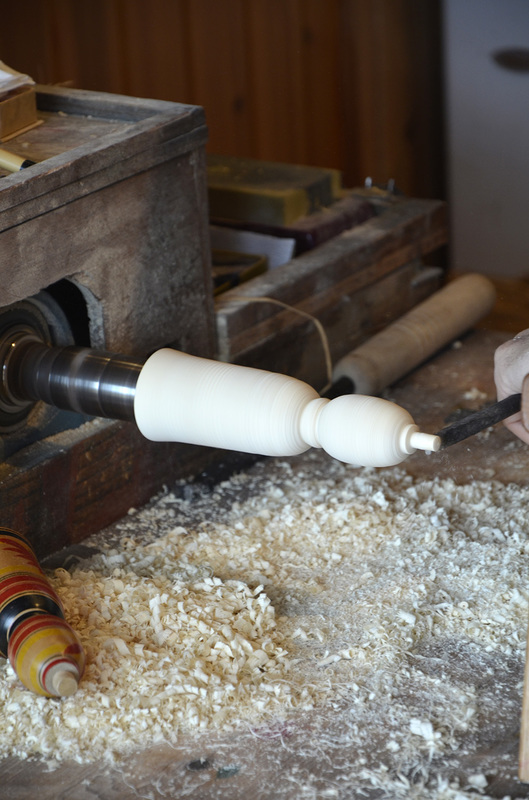
Here is a close up of the kokeshi body.
This chisel took a lot less wood off of the kokeshi, so I am calling it the "finishing touch" chisel.
More comparison.
The sanding process was a two step one; the first was with sandpaper and the second was with straw.
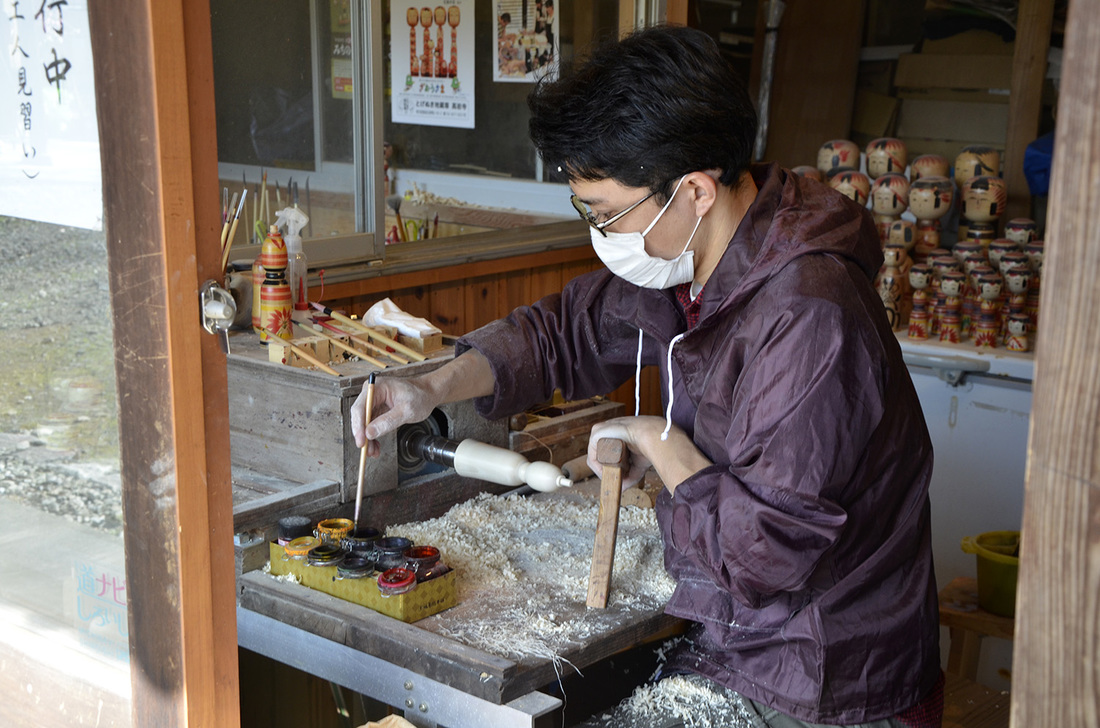
Painting of the kokeshi. If this was me, I would have messed up at least four times.
In order to dry the ink, he scooped up handfuls of sawdust and pressed it against the kokeshi. He picked up a new handful for ever section, to not mix the ink.
He centered the head one last time...
...and then removed the kokeshi from the lathe.
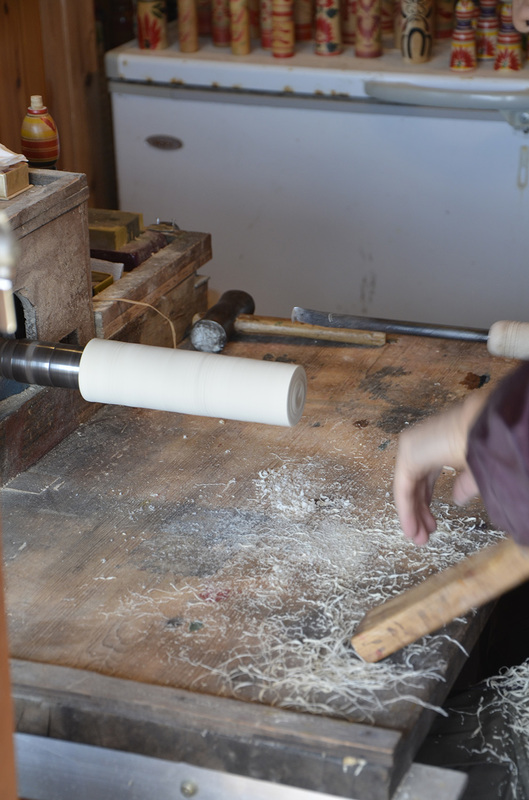
The wood went from a block...

...to a beautifully painted kokeshi. All in under an hour.
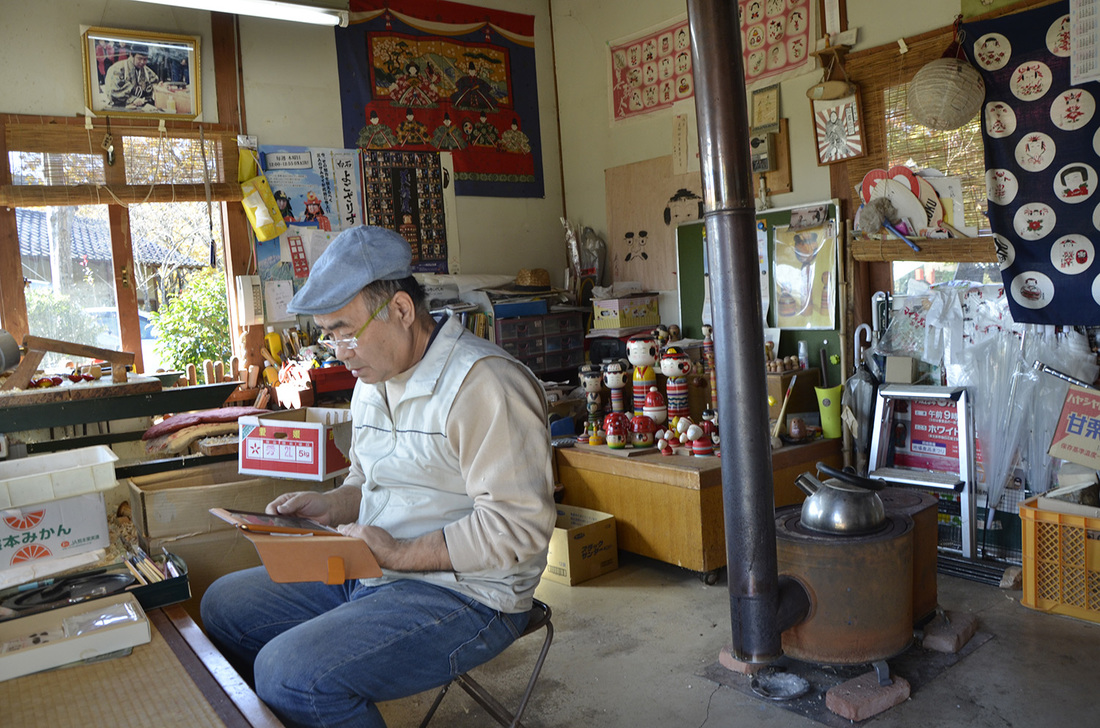
After watching a kokeshi being made, we wondered over to the next workshop. This gentleman was inside. He was translating that we could make our own prayer flag.
These were on display in his workshop. After we painted our prayer flags, we wondered to the next workshop.
This workshop was set up much the same as the previous two, except it was tea time. Not wanting to interrupt their break, Erica and I left the Village.
It was awesome to see an artisan work on his craft first hand. I cannot stress enough that if you are in the area, you should stop at the Yajiro Kokeshi Village!
It was awesome to see an artisan work on his craft first hand. I cannot stress enough that if you are in the area, you should stop at the Yajiro Kokeshi Village!
